Neuseeland 2011/12 - Teil 5 von 8
Deutsch | English
Abel Tasman NP, Nelson und Abschied von der Südinsel, auf nach Wellington
Abel Tasman
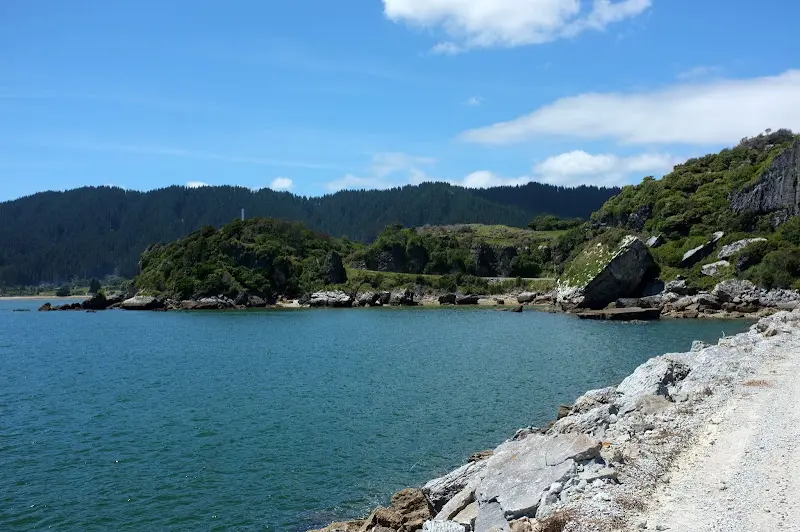
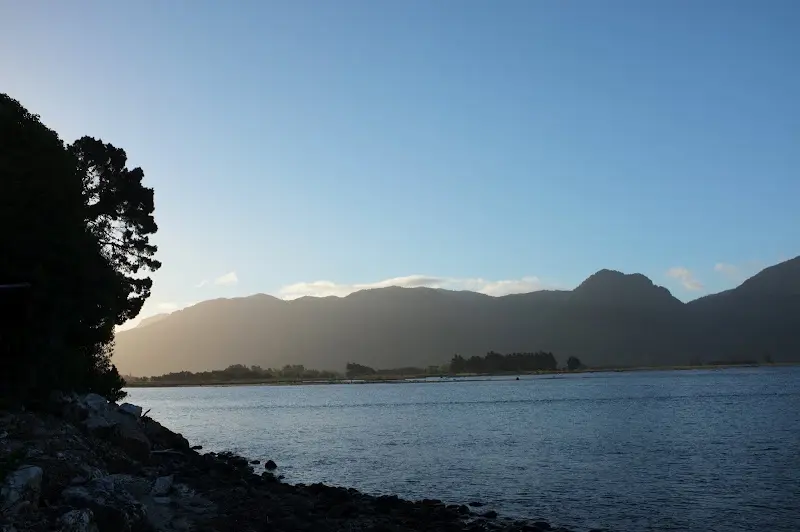
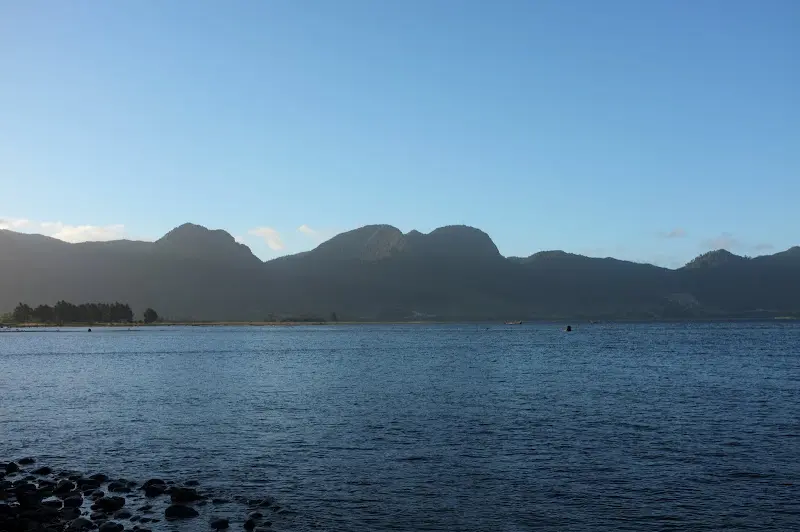
Von Westport aus folgte ich zunächst dem Fluß Buller und radelte über Murchison nach Nelson und ins sehr von Touristen geliebte Motueka bzw. Kaiteriteri. Auf dem Weg nach Takaka, an die Nordgrenze des Abel Tasman NP (durch die starken Regenfälle wenige Tage zuvor waren leider einige Strassen unpassierbar) und weiter nach Collingwood wird es deutlich einsamer. Da es sich auch hier um eine "Sackgasse" handelt und die ganze Gegend sehr abgeschieden wirkt, fühlt man sich etwas "am Ende der Welt"...
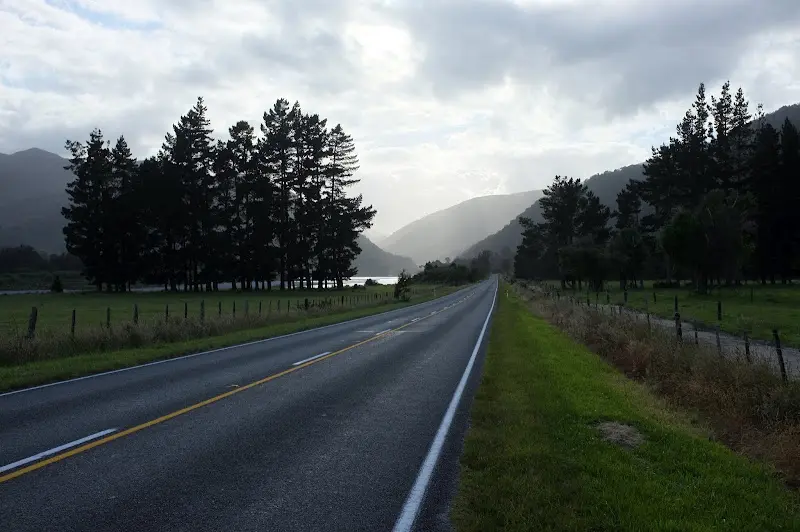
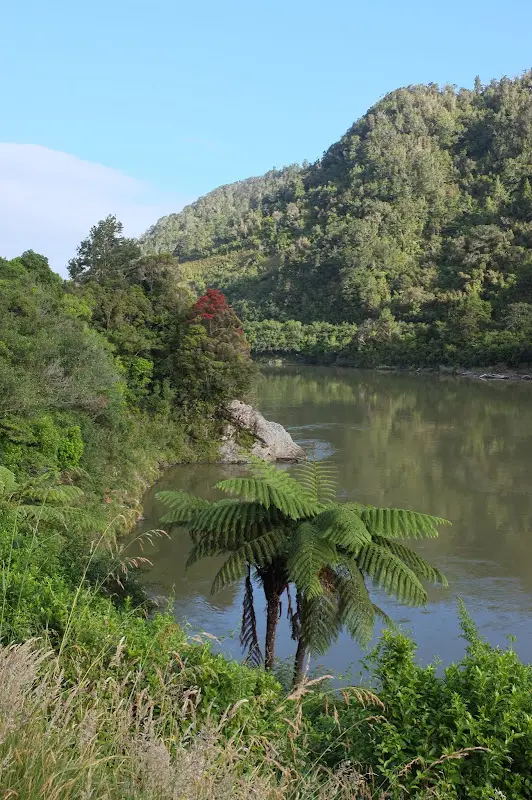
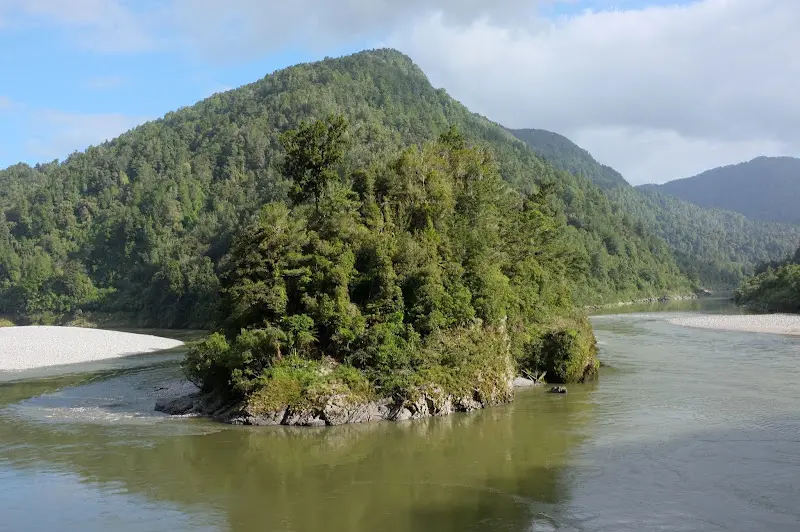
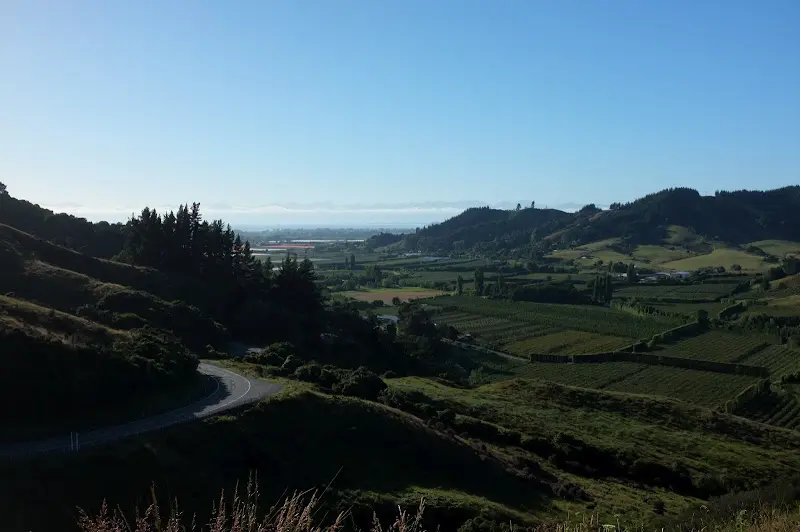
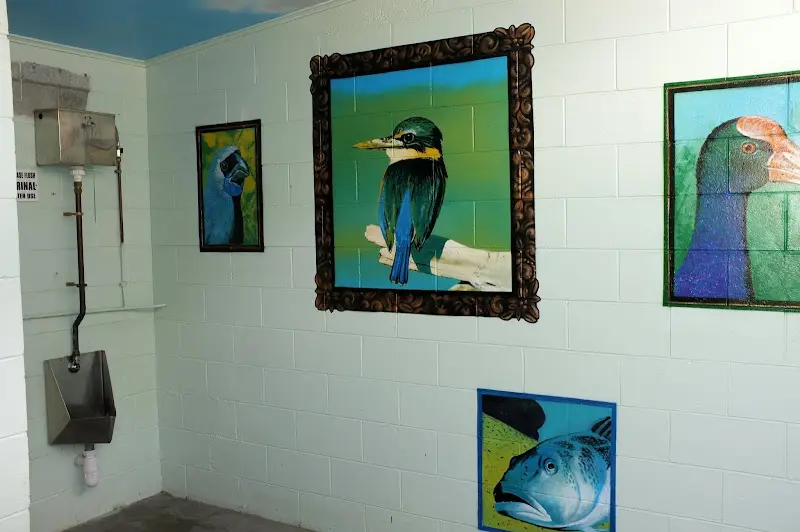
eine Toilette am Strassenrand im Abel Tasman NP
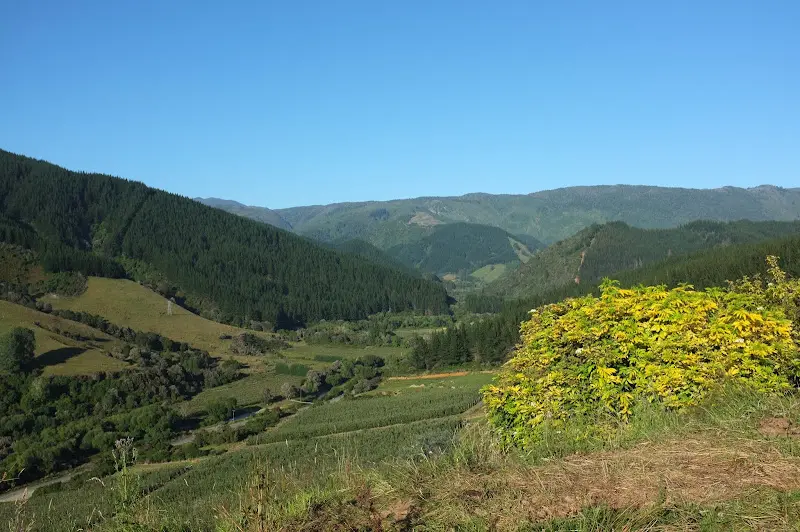
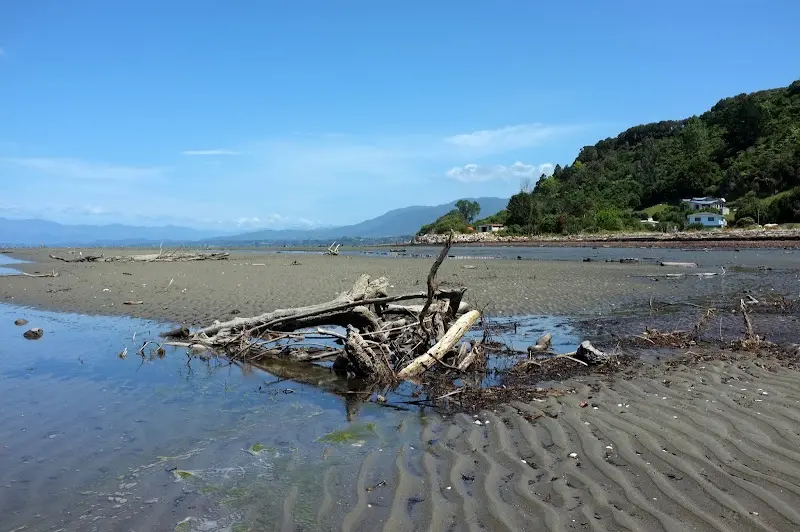
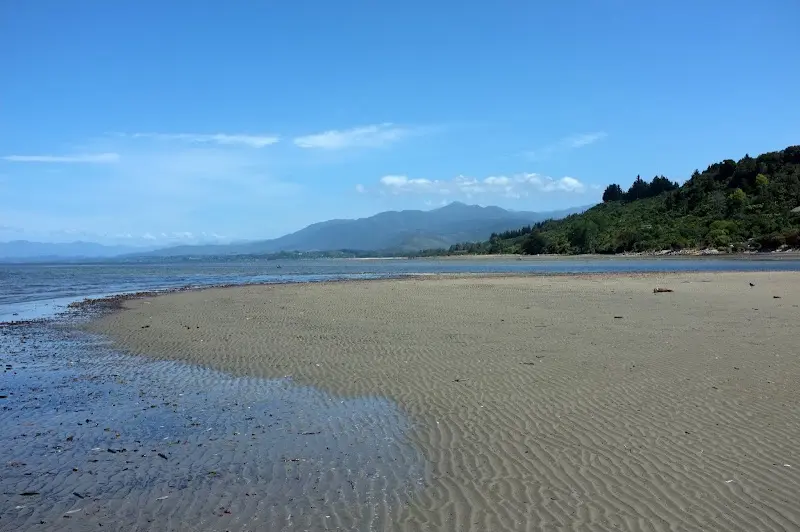
Collingwood und zurück nach Nelson
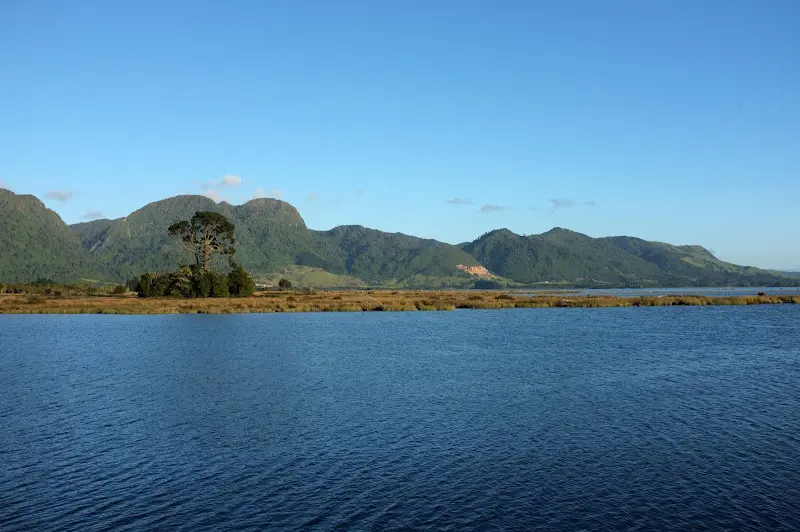
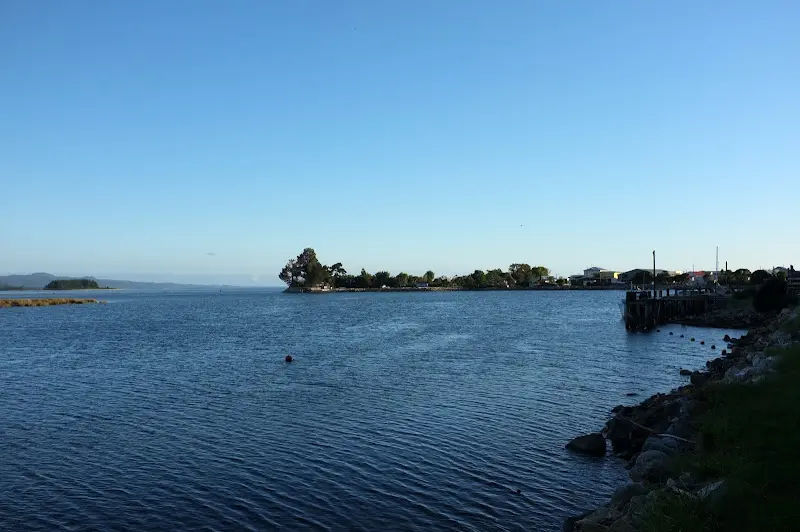
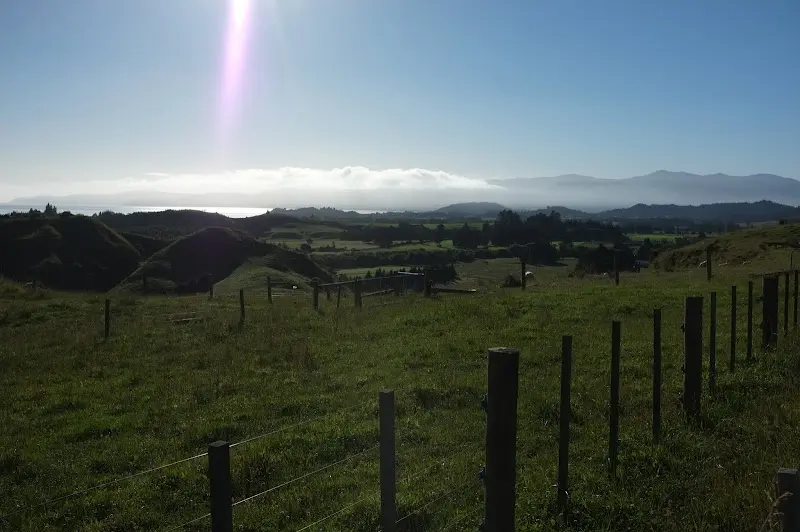
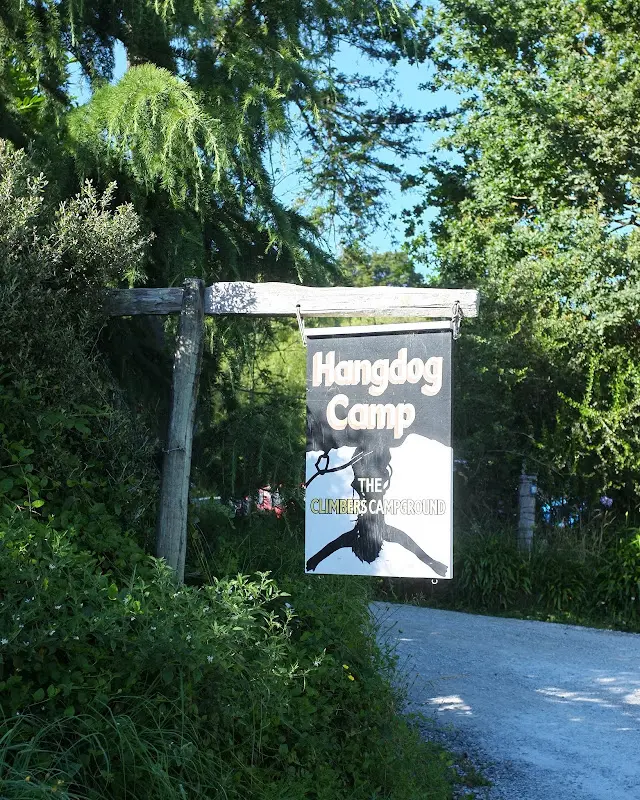
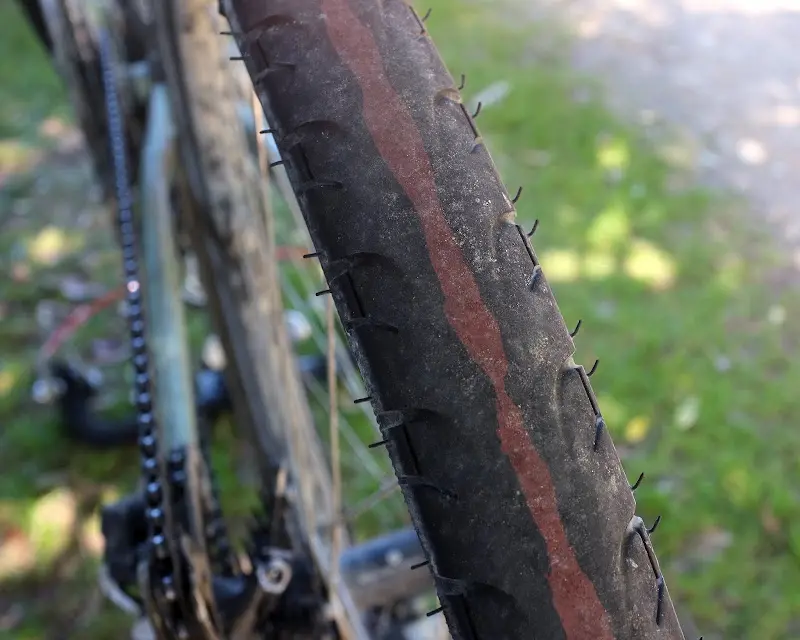
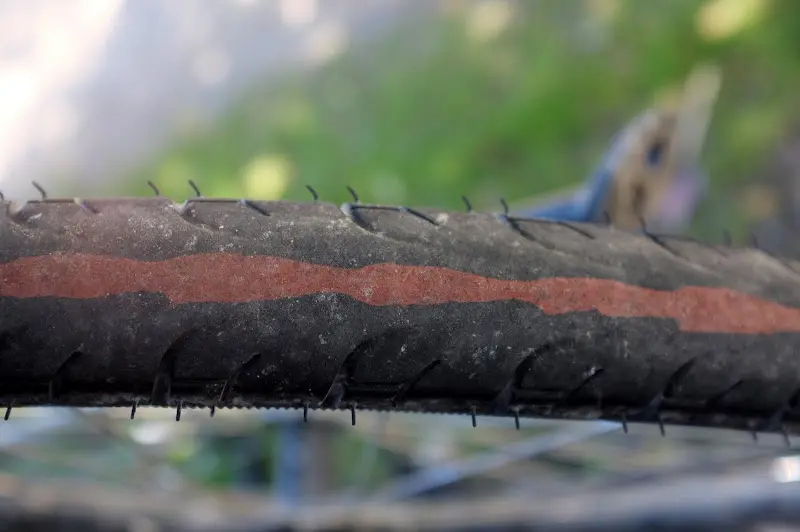
mein Reifen am Hinterrad ein Vittoria Randonneur Pro hat nur 2500km auf dem Buckel, als ich der Meinung war: so langsam sollte er gewechselt werden und ich konnte in Nelson Ersatz finden.
das Wetter blieb von Nelson nach Picton etwas trübe
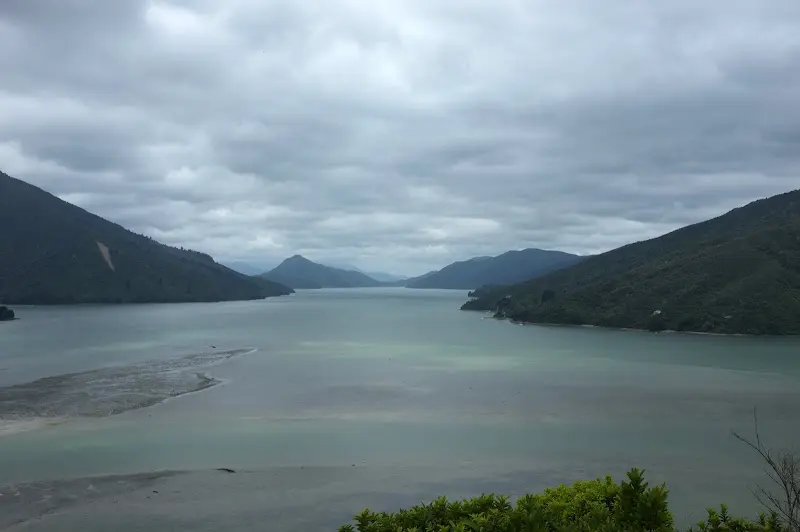
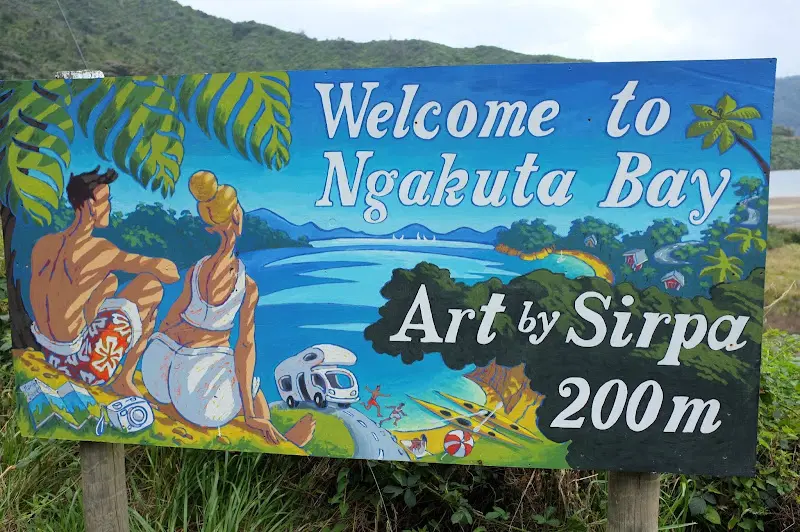
Picton
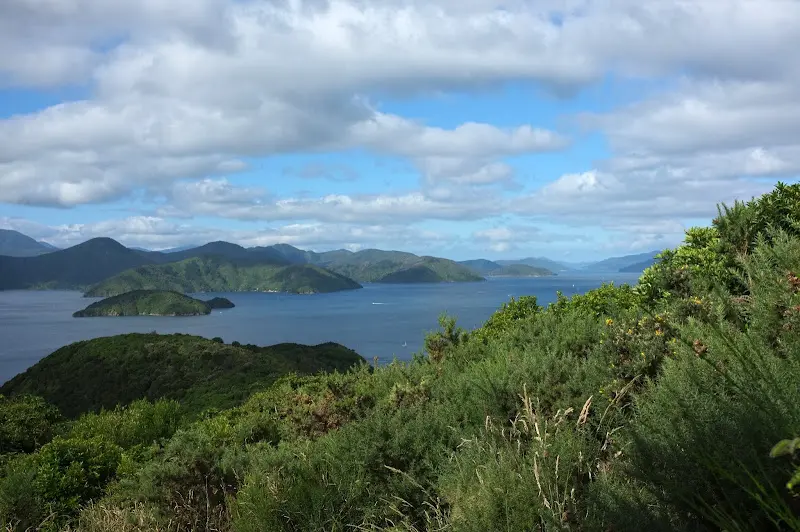
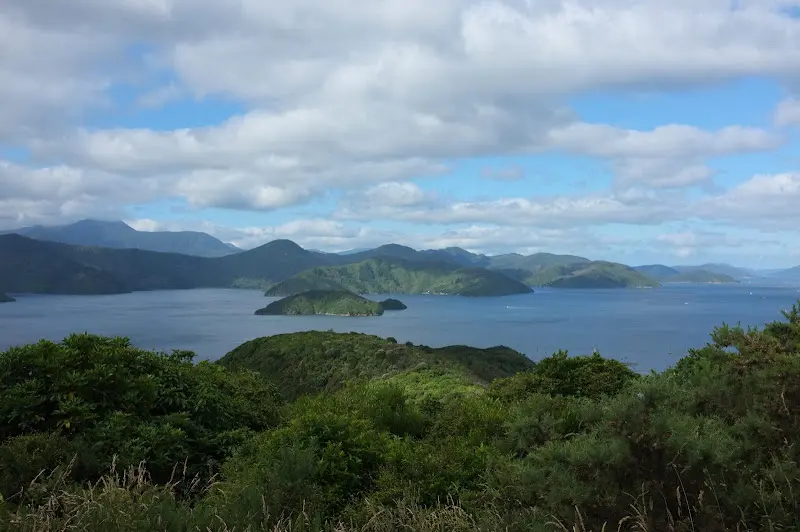
und erst am Abend bei einer Wanderung entlang der Küste kam die Sonne raus
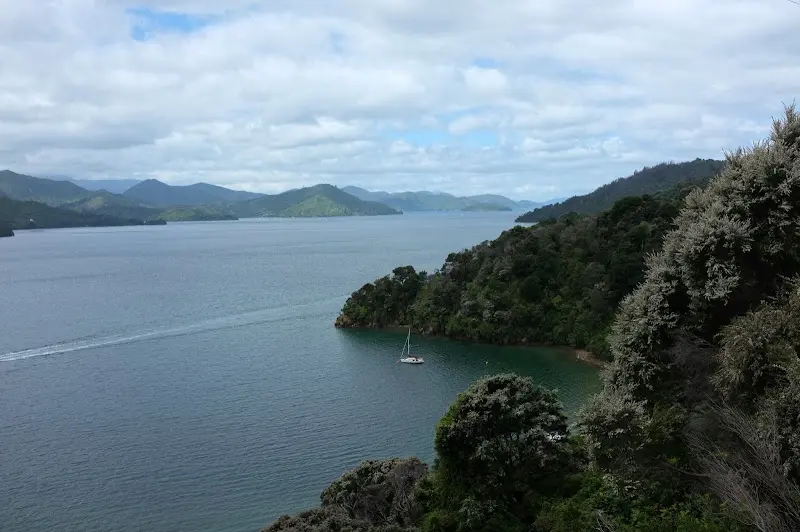
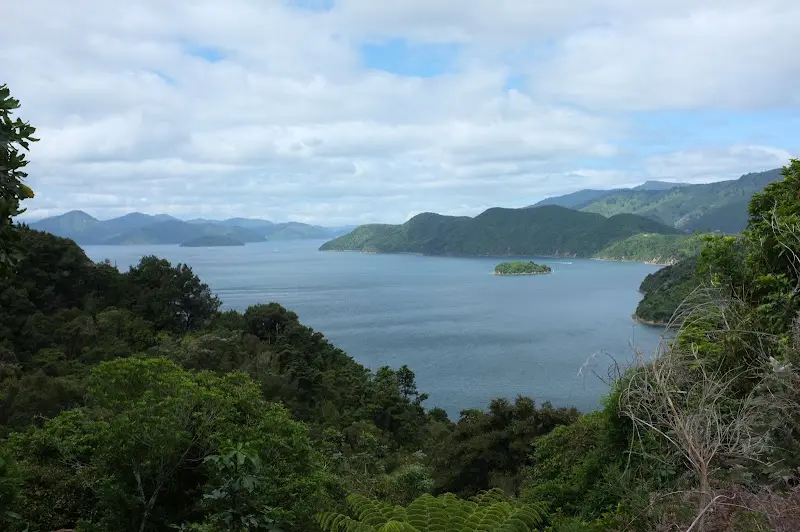
Wellington
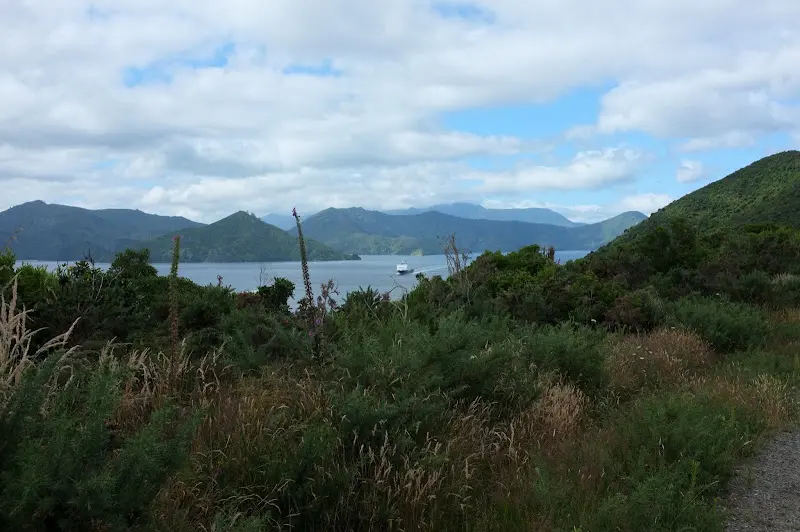
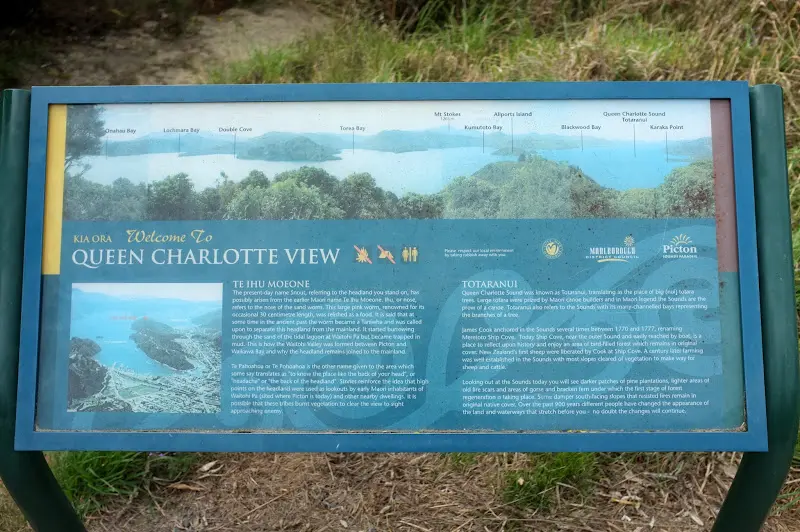
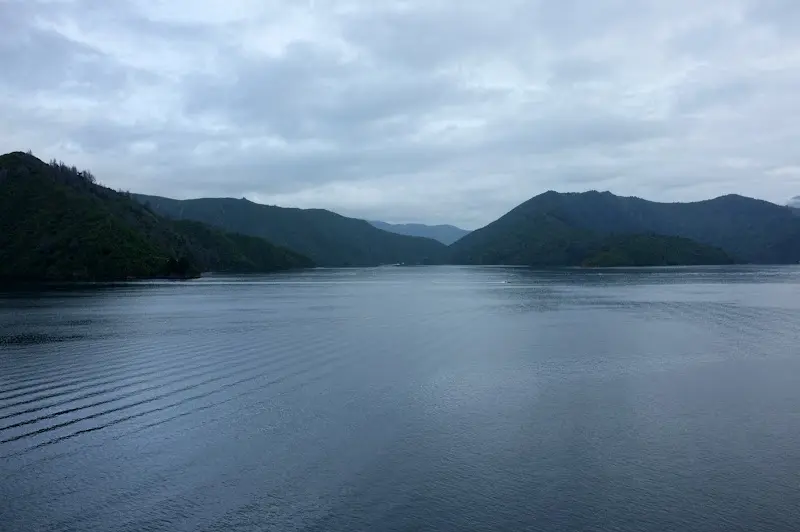
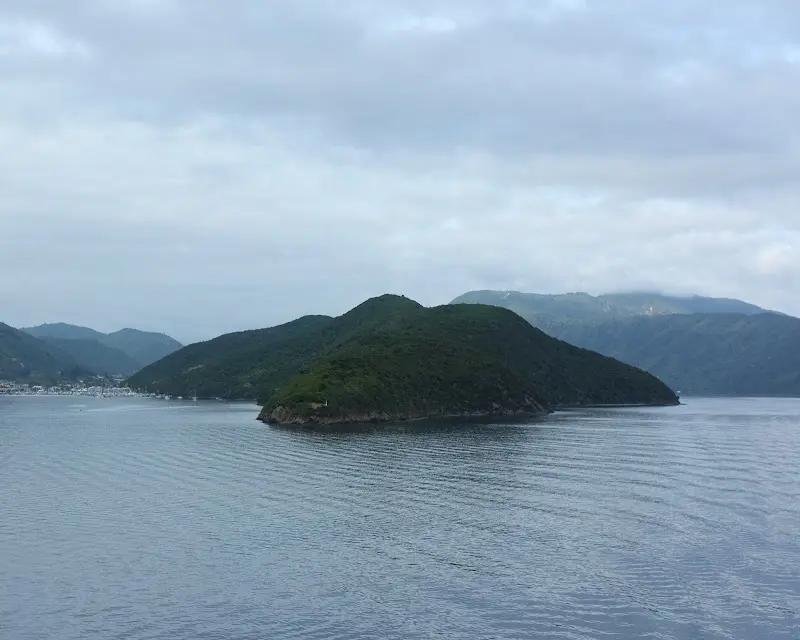
nach Picton reist man um die Fähre nach Wellington zu nehmen, was ich am nächsten Morgen tat, man hat dabei noch einen schönen Blick auf die "Schnauze des Sandwurms", so die Bezeichnung der Halbinsel bei Picton
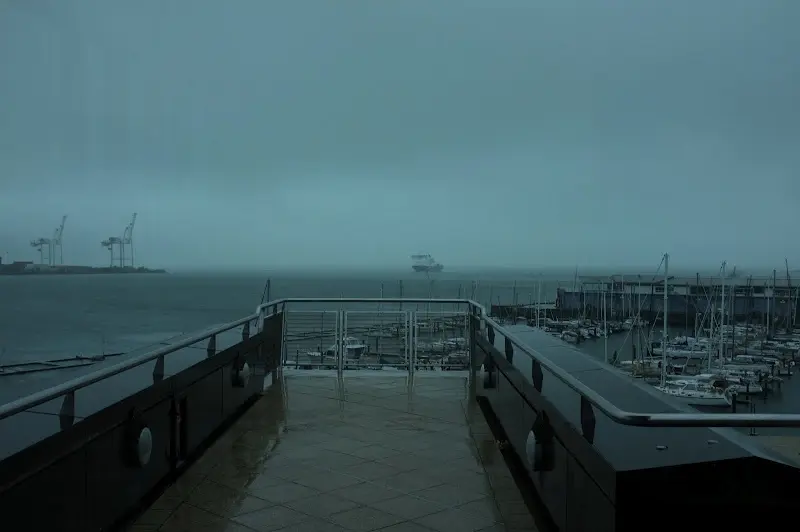
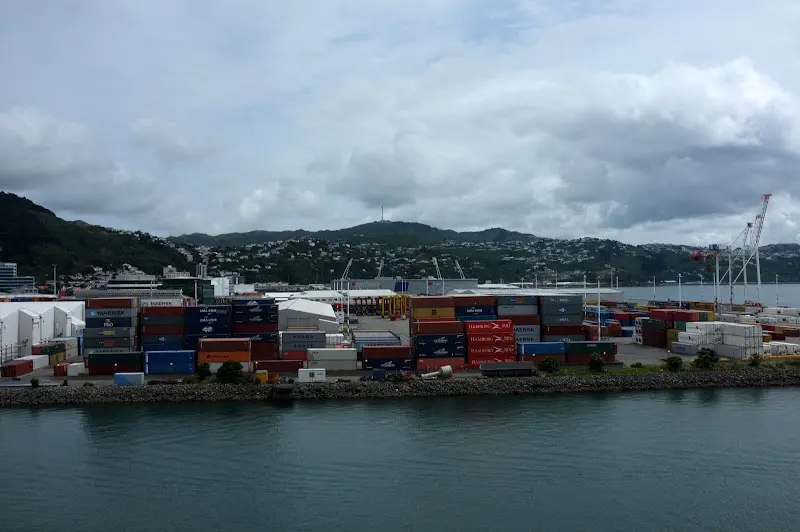
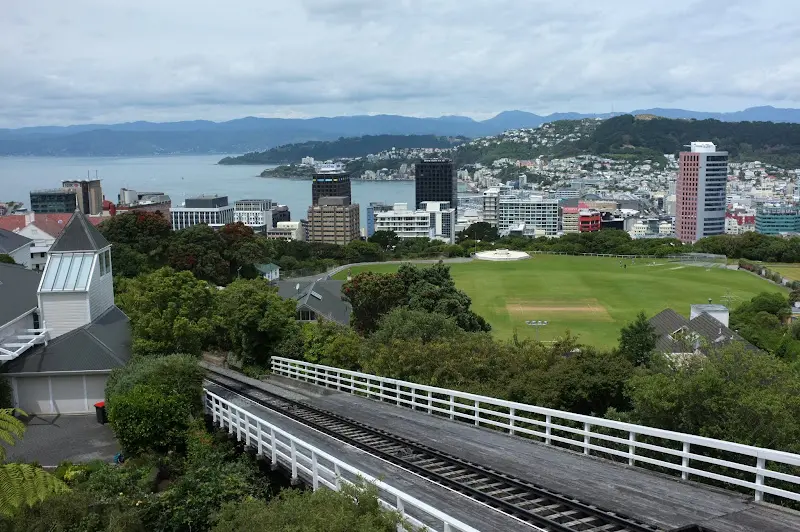
Internationale Container in Wellingtons Hafen und eine Fahrt mit dem cable car ...
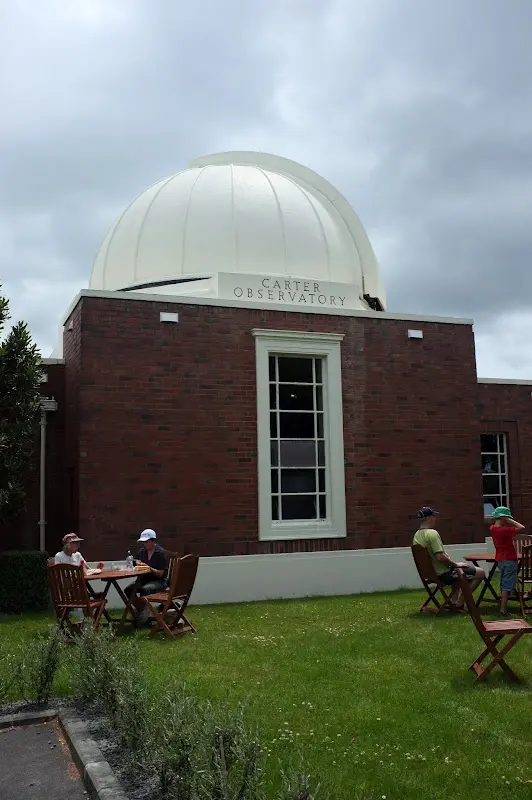
zum Observatorium mit einem tollen Ausstellungsmotto...
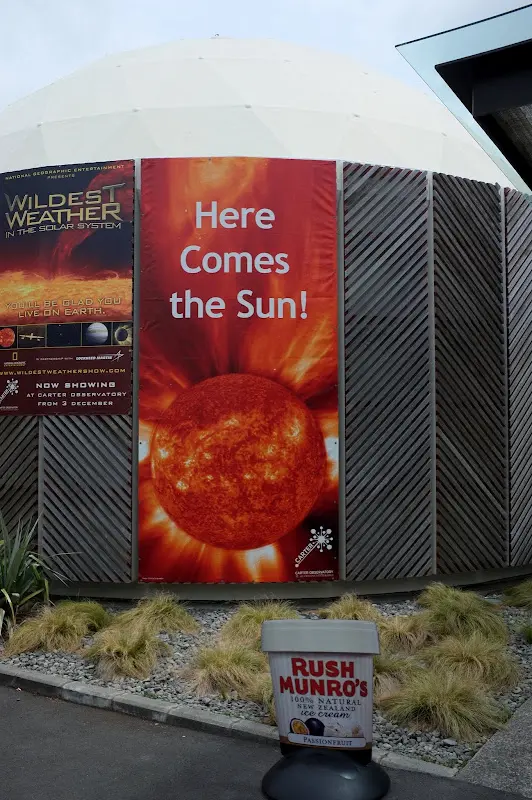
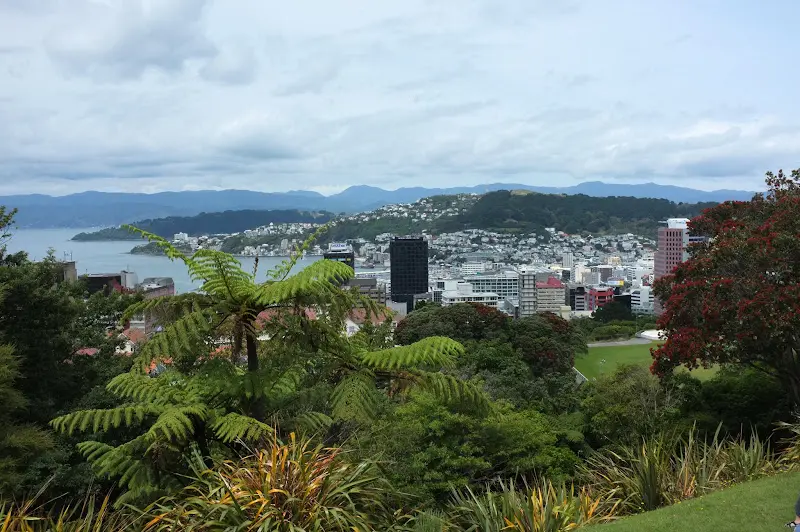
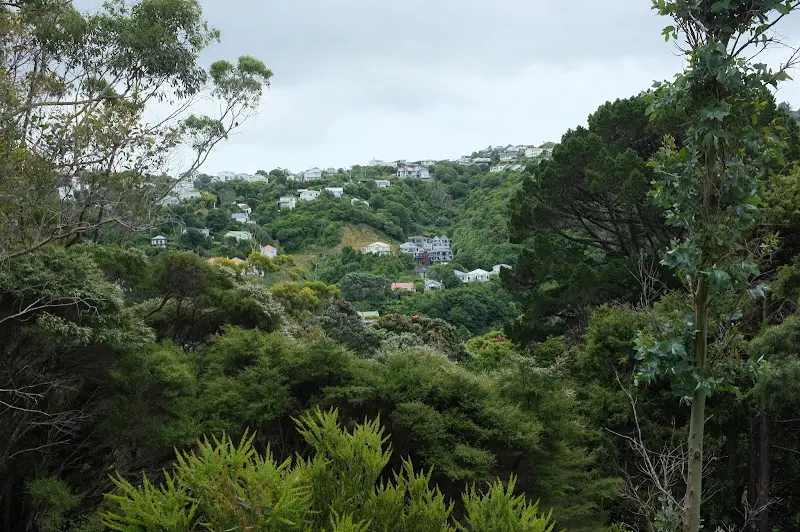
und guter Sicht auf Wellington nach "vorne" und "hinten"
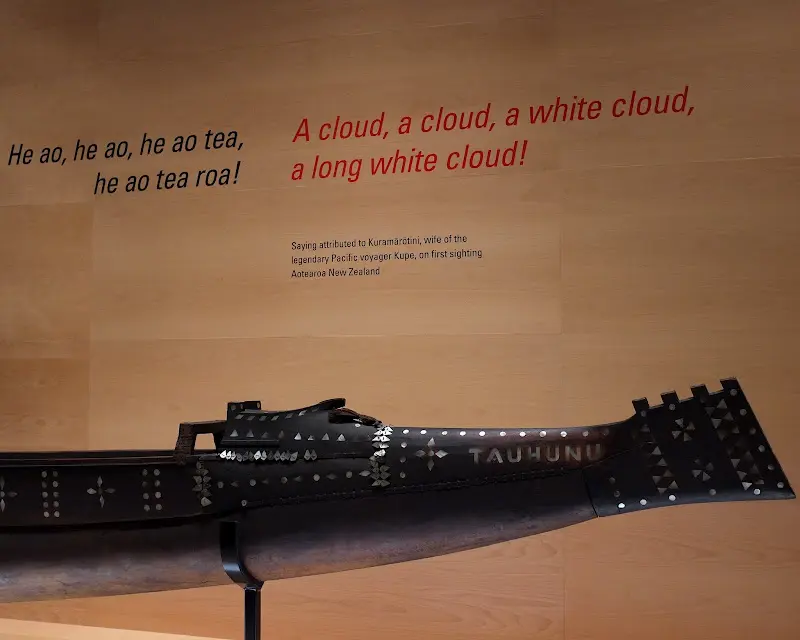
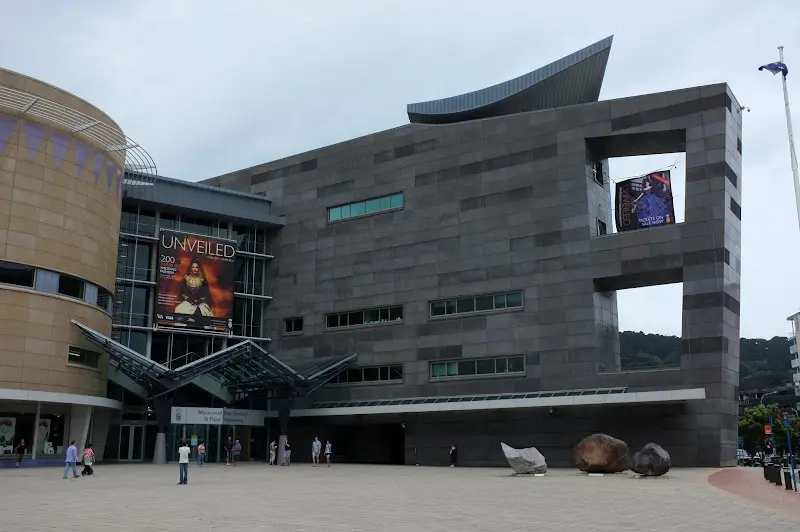
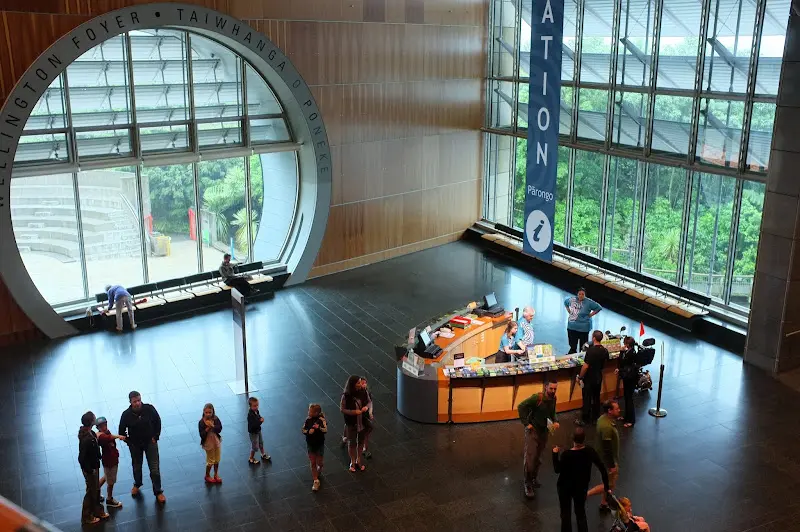
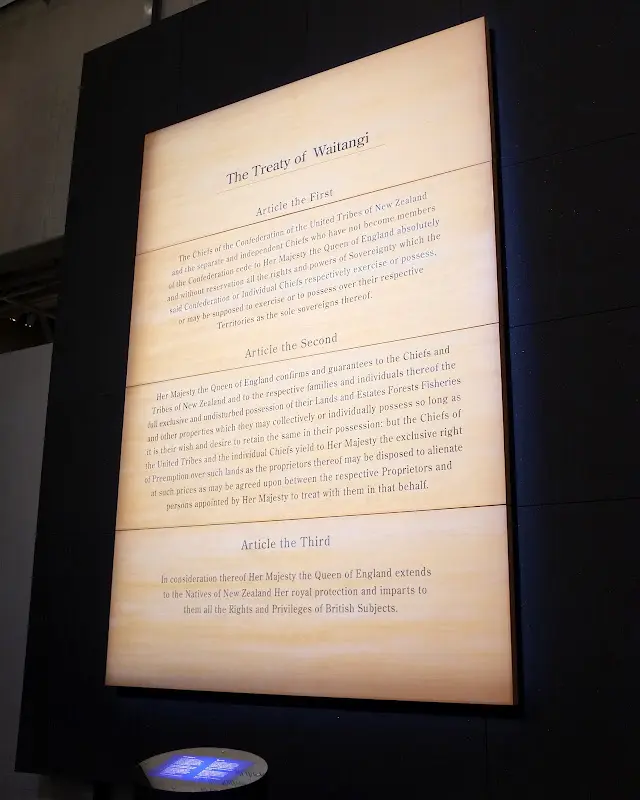
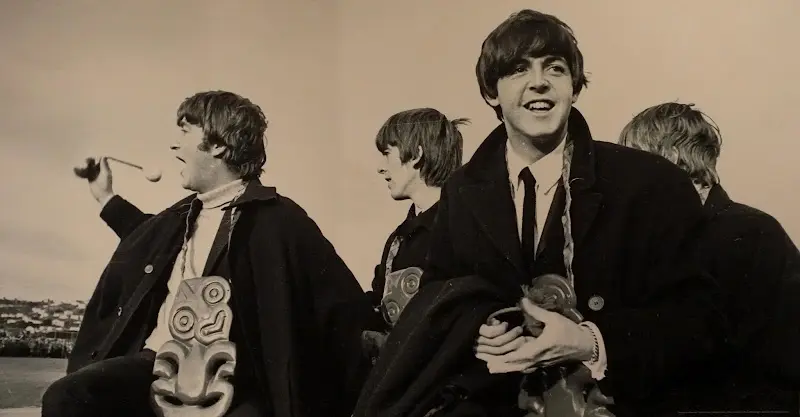
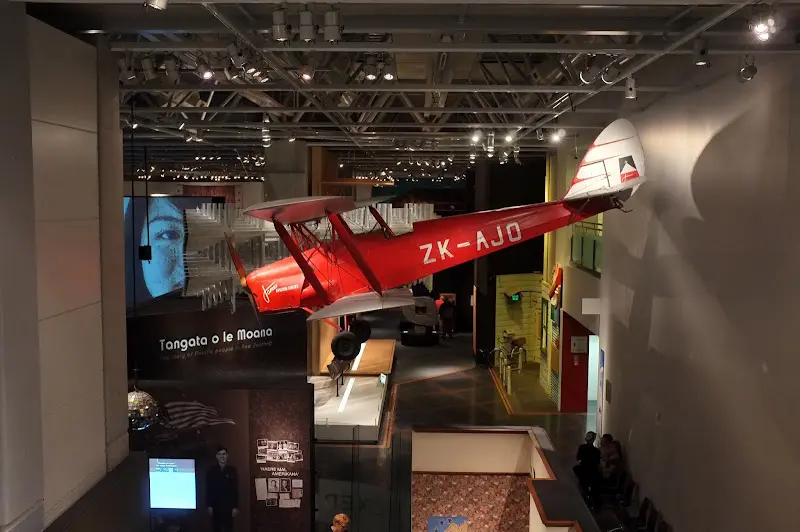
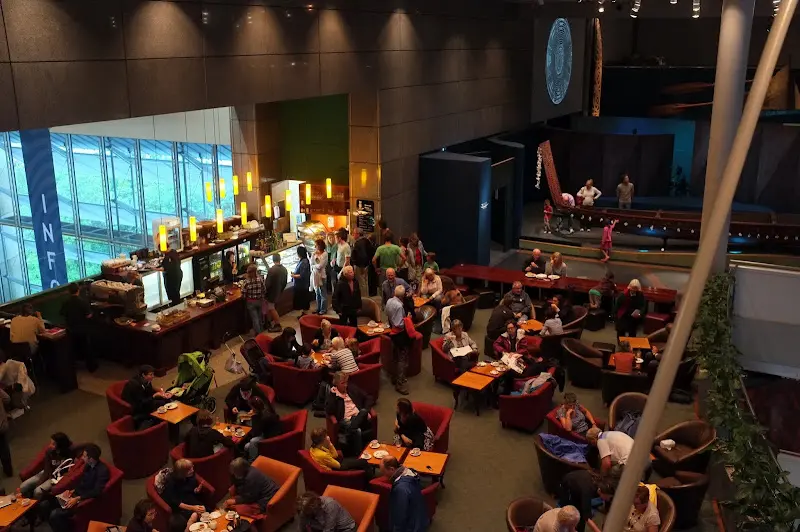
am nächsten Tag bei strömenden Regen einen Tag im Te Papa Nationalmuseum verbracht